Recently for my birthday, I received the Naked Basics Palette as a present. Being ever so excited about this, I felt the need to do a tutorial with it ASAP! Let's start with a review, shall we? The Naked Basics Palette from Urban Decay is significantly smaller and more compact than the previous Naked Palettes, containing six compact eye shadows as opposed to 12. Therefore, it is perfect for travelling and proved this when I took it to Florida last month. (That's travel-friendly checked off the list). The Palette is mainly made up of matte shades, which drew me in straight away) and has a variety of neutral colours ranging from light to dark. All colours have great pigment and quality.
- Venus- The only shimmer in the palette. This is a pearly, off-white colour and shimmers in the light. It is great for highlighting the inner corners of the eye and the brow bone.
- Foxy- Cream, nude matte perfect for a less obvious highlight.
- Walk of Shame (W.O.S)- Another light nude matte with a pinker undertone than Foxy.
- Naked 2- Light taupe matte, perfect as a base colour all over the eyelid.
- Faint- Warm, dusty brown matte.
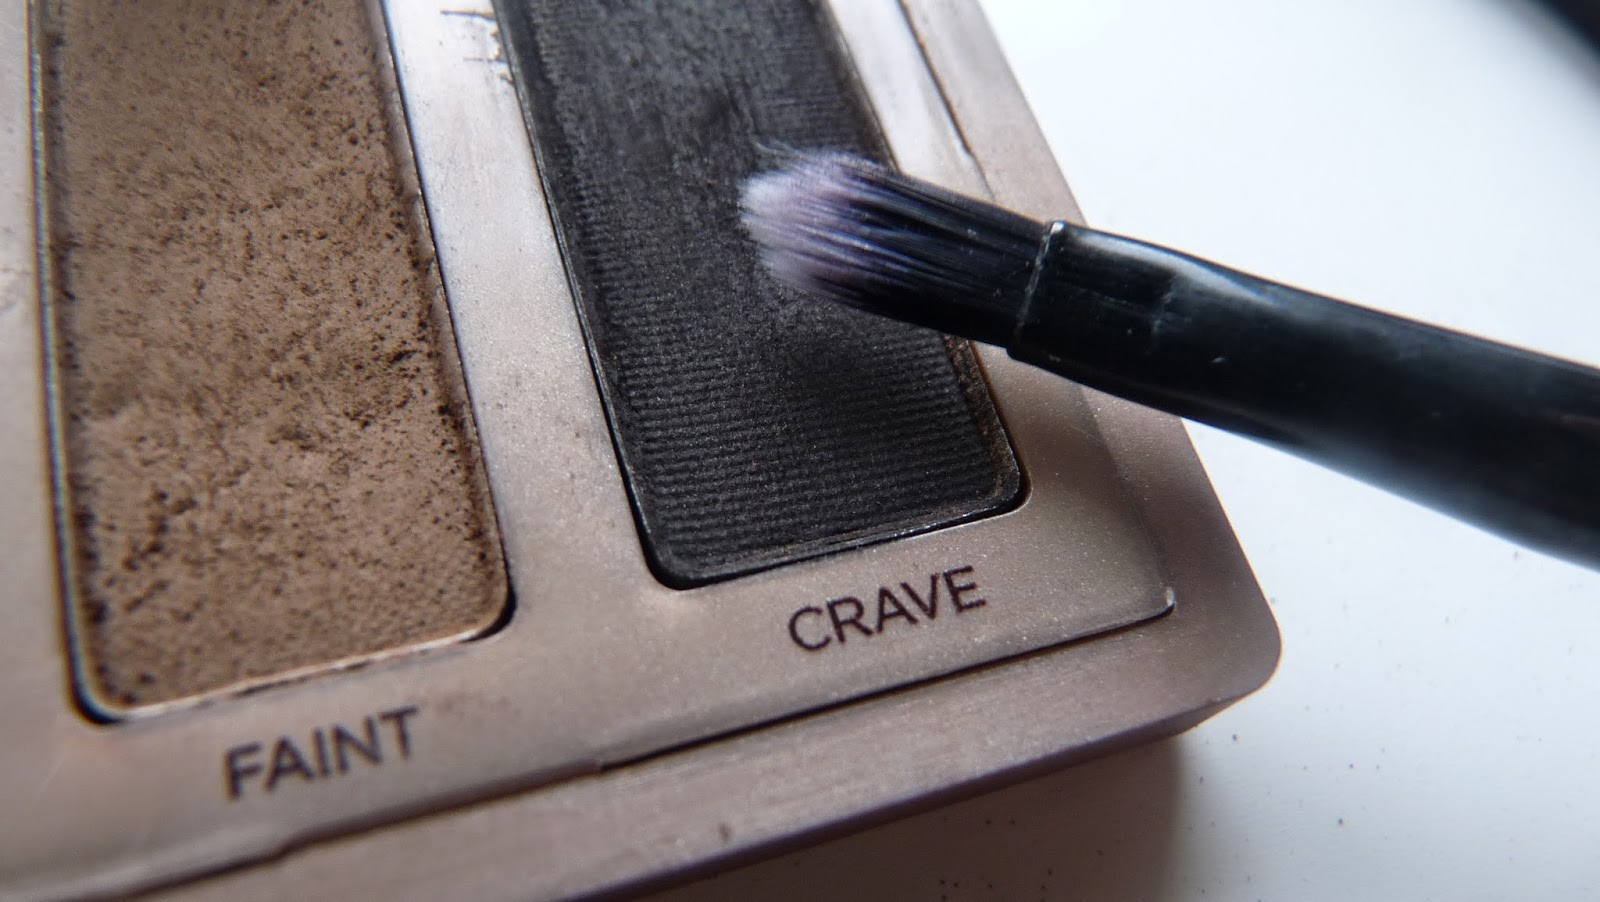
- Crave- Black matte, ideal for smoking out any look.
 |
| Swatches in order |
Now onto the tutorial!
This is an overview of all the products I used to achieve this smokey eye look. I did my eyebrows prior to the eye makeup. Further detail of the products will be mentioned throughout the post, so keep reading!
1) Apply one small strip of sellotape evenly to the side of each of your eyes in a slanting angle. Make sure that the sellotape is smoothed out to achieve a very precise look. You do not have to follow this step but it will create a much cleaner edge to the makeup and also help later on with eyeliner, if you tend to struggle in that area. Also, make sure that it isn't too tight as it'll be there for a while and you don't want to be uncomfortable.
2) Apply primer. I used the Seventeen 'Photo Flawless Skin Primer'. Using this will make your eye shadow go on smoothly and evenly, and will prevent creasing.
3) Place Naked 2 all over the eyelid as a base colour. This will be your starting point, and if you're like me, conceal your veiny eyelids. This is the Real Techniques 'Shading Brush'.
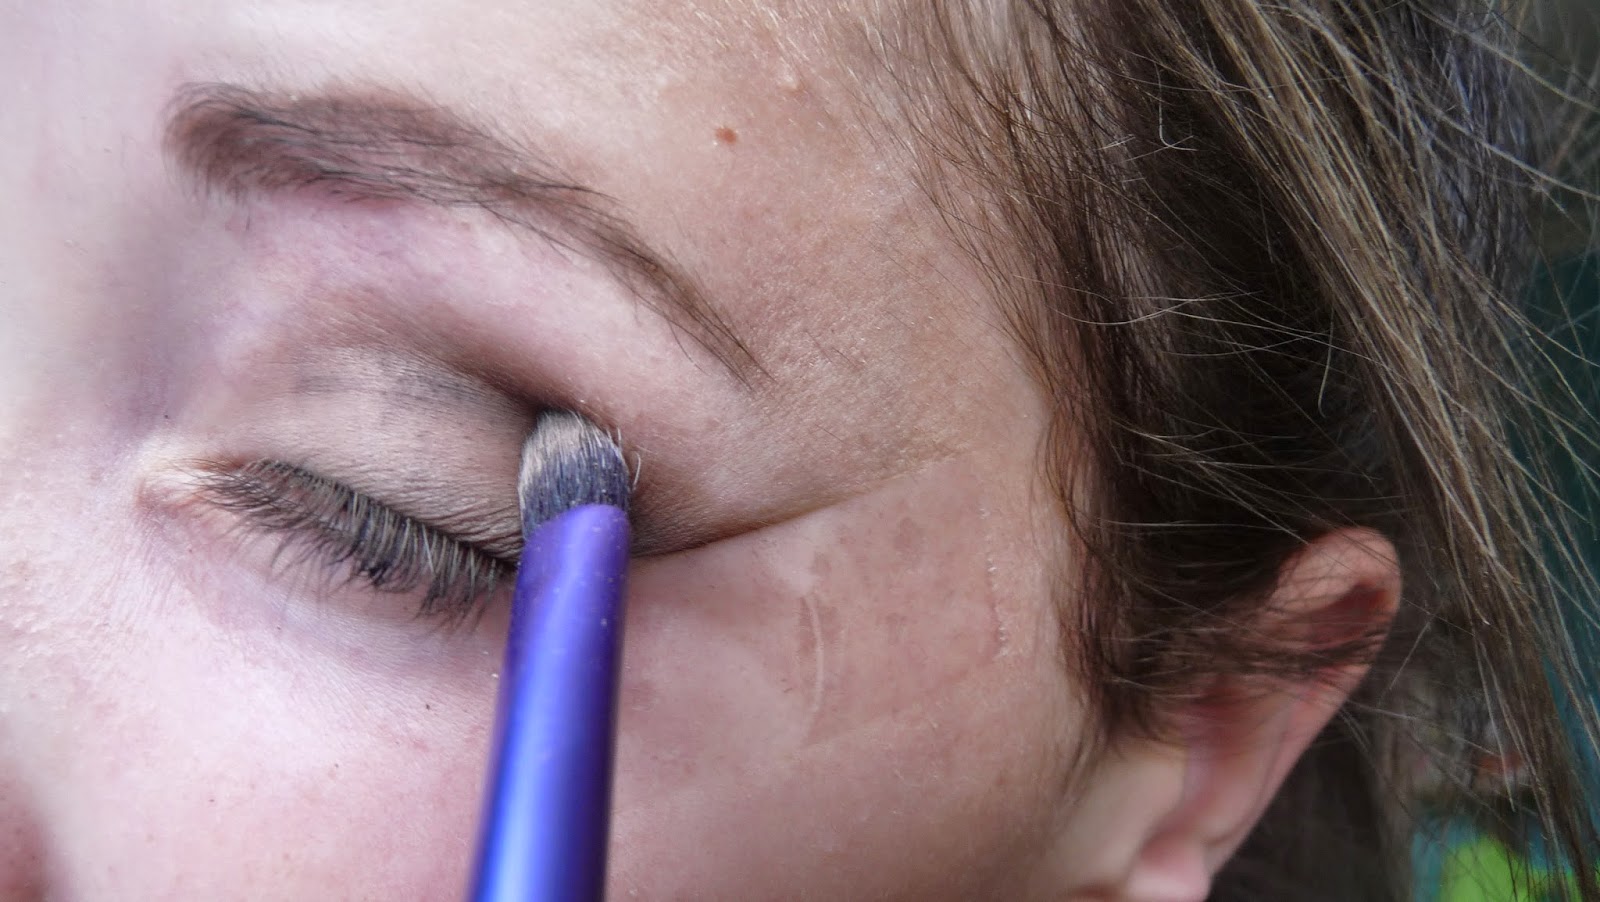
4) Use Faint on a fluffy crease brush into the crease and repeat to build up the colour. Repeat this step on the outer third of the eye to begin the smokey effect. Be sure to blend well! This is a Seventeen Brush.
So far your makeup should be looking like this...
5) Using a tiny, pointed brush, use the smallest amount of Crave over Faint. Black eye shadow can be very harsh and easy to mess up so be sparing and build up the colour. Again, make sure to blend well. To do this, I used a Seventeen brush.
I went back over to blend with the shading brush I used earlier.
What a difference blending can do...
6) Place Foxy on the inner third of the eyelid and the brow bone to lighten up the light and show the gradient more clearly.
7) Blend this together for a more gradual look. I used the shading brush once again.
8) Repeat the previous step but with Venus instead of Foxy. This increases the highlight and adds some shimmer.
9) Eyeliner. Apply a thin line of eyeliner to make the look really stand out. I find that liquid eyeliner will work best but use whatever your heart desires. I used the Collection 'Extreme 24 Hour Felt Tip Liner'... That's a mouthful!
10) Peel off the sellotape to reveal clean edges. If this is too clean for you, I suggest taking a cue tip dipped in makeup remover (I used the Garnier Micellar Water-highly recommended!) to blend out the line a bit. In reality, this stage isn't nearly as painful as you'd expect, haha.
11) Mascara time. Let's lengthen and make those eyelashes stand out! I used the Maybelline 'The Falsies' Mascara. This is a pretty straight forward step so I will leave out the details.
 |
| Eeeee, don't judge me but I'm pretty excited about this gif! |
12) Concealer. This step is useful to keep until the end in order to clean up and cover any fall out you may have had from the eyeshadow. I used the Collection 'Lasting Perfection' to cover my dreadful bags!
13) Finally... (I knew it'd be a long post!) With a angled brush, go back to Faint and bring it under your bottom lash line. Bring it about half way across. This completes the smokey look and TA DAAA you are finished! Off to a fancy dinner, party or wherever you feel like rocking this look.
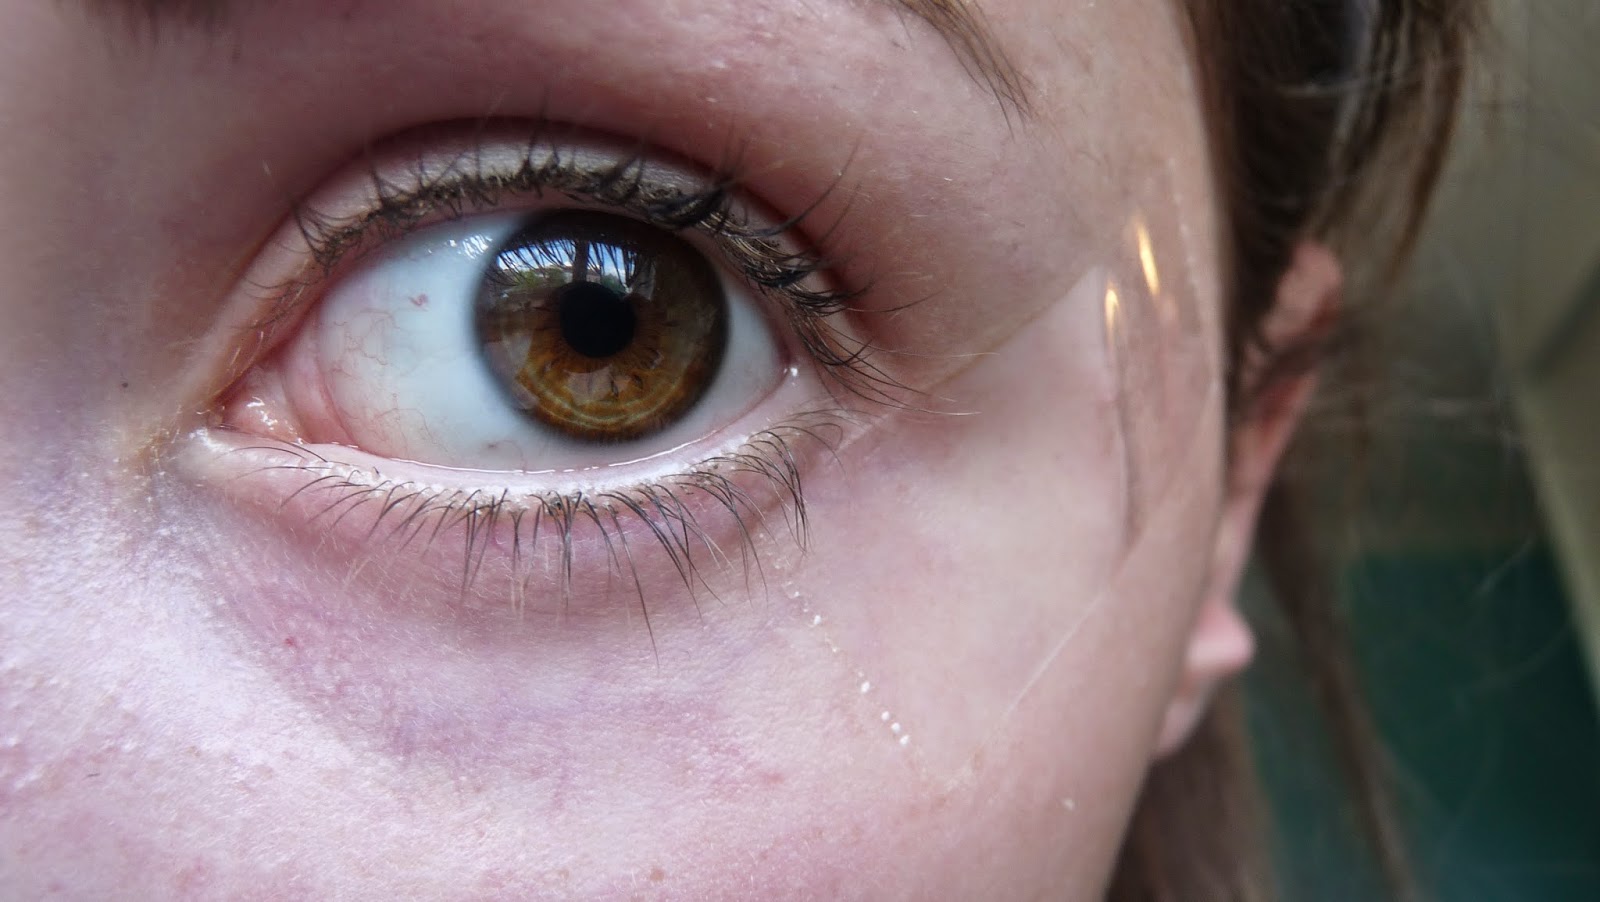
TA DAAAA!We are finished, here is the final smokey eye look for whether you are going out for a fancy party or dinner.
The Final Transformation...
Thanks for reading this extremely long post!
Jennie xo


